Testing items
Hole expansion test
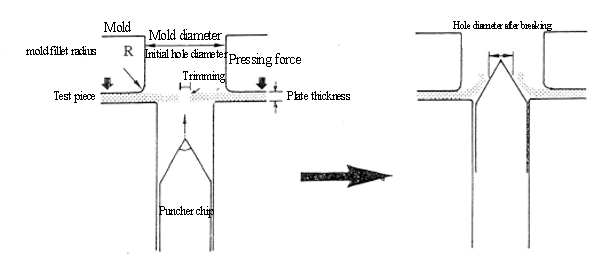
The hole expansion test is a process used to test the sheet formability, in which the central part of the test piece is punched on a punch press to cut a hole with a fixed diameter and then the test piece is pressed into the mold with the tapered puncher chip to enlarge the central hole of the test piece until thereˇŻs some shrinkage or crack around the edge of the hole. The test result is then used to assess the formability and flangeability of metallic sheets.
Hole expansion test diagram

Method for calculating the hole expansion rate:When thereˇŻs some shrinkage or crack around the edge of the hole, turn off the machine and unload. Measure the average diameter of the central hole of the test piece, and use the ratio of its expansion amount to the original hole diameter, which is known as the hole expansion rate ¦Ë(%), as the indicator for assessing the flanging performance of a metallic sheet:
Formula for calculating hole expansionŁş
![]()
Cold bend test
The cold bend test is also known as the bend test, a process in which the bending method or twisting method is used to determine the minimum bend radius Rmin when thereˇŻs no crack on the exterior of the test piece when the radius R of the male die is gradually reduced. Then, use the ratio of Rmin to the basic thickness T of the test piece, which is also known as the minimum relative bending radius Rmin/T0, as the indicator for the bend forming performance. The smaller the minimum relative bending radius, the better the bend forming performance.
Fatigue test
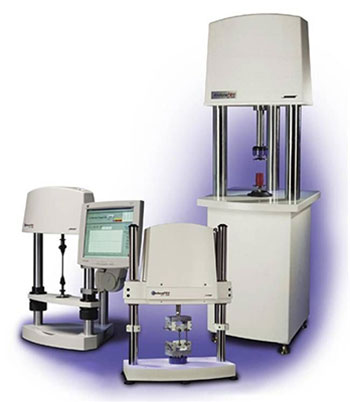
A process used to test the fatigue stress or strain cycle number of a material or a structure. Fatigue is the incremental process of a local and permanent damage happening to a certain point of the material under the condition of cyclic loading. After enough stress or strain cycles, the cumulative damage can cause cracking of the material or further expansion of such crack until a total rupture. Then, the observable crack or total rupture that appears is known as fatigue rupture.

Impact test
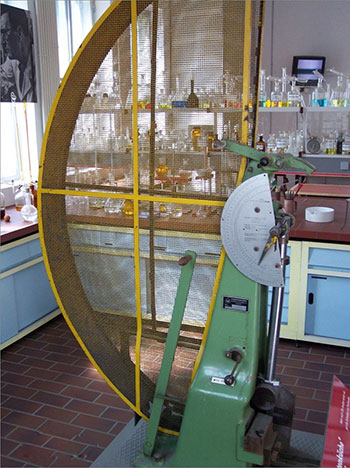
The Charpy impact test is a process used to a metallic materialˇŻs resistance to notch sensitivity (toughness). Prepare a metallic test piece with a certain shape and size, and make a U-shaped or V-shaped notch on it. When the Charpy impact tester is in the state of a simply supported beam, use the pendulum bob to make an impact on the test piece so that it breaks along the notch. Then, use the height difference at the time when the pendulum bob again rises to calculate the absorption power of the test piece, which is known as Aku and Akv. The impact test can be performed under different temperature conditions. The bigger the absorption power value (in Joule), the better the toughness of the material and the less sensitive it is to the notch or other stress concentration of the structure. In recent years, for materials with important structures, there has been a preference for test pieces with V-shaped notches in impact tests, as it can better indicate the notch effect.

Hardness test
A mechanical property test used to measure the surface hardness of solid materials. The hardness test is the most simple of all material tests. Compared with other material tests such as the tensile test, impact test and torsion test, it has characteristics as follows: (1) The test can be directly performed on the part regardless of its size, thickness and shape; (2) The test only tiny marks on the surface of a part without damaging it; (3) The test is simple and fast. The hardness test is widely applied in the mechanical industry to test the quality of raw materials and parts after heat treatment. As the hardness is related to other mechanical properties to some extent, we can also use hardness to evaluate other mechanical properties of a part or material.
Wear test
The wear test is a testing process to determine a materialˇŻs wear resistance. Through the test, you can compare different materials to determine which one has better wear resistance. The wear test is more complicated than conventional material tests. You first need to consider the specific working conditions and determine the wear form of parts, and then select the appropriate test method so that the test result can be in accordance with the actual results. As for wear-resistant steel, the internationally-recognized pin on disc friction and wear test can be used for wear testing.

